การเลือกประกันรถยนต์แท้จริงแล้วไม่ใช่เรื่องง่าย เนื่องจากมีหลายระดับความคุ้มครองที่ต่างกัน แต่หากคุณต้องการความคุ้มครองสูงสุดในงบประมาณ ประกันรถยนต์ชั้น 2 พลัสเป็นตัวเลือกที่ดีที่สุด ...


การเลือกประกันรถยนต์แท้จริงแล้วไม่ใช่เรื่องง่าย เนื่องจากมีหลายระดับความคุ้มครองที่ต่างกัน แต่หากคุณต้องการความคุ้มครองสูงสุดในงบประมาณ ประกันรถยนต์ชั้น 2 พลัสเป็นตัวเลือกที่ดีที่สุด ...

เมื่อพูดถึงรูปแบบประกันรถยนต์ในปัจจุบันต้องยอมรับว่ามีความหลากหลายและมีความน่าสนใจมากในแต่ละรูปแบบของประกันรถยนต์ก็ให้ความคุ้มครองที่ไม่เหมือนกันโดยราคาเบี้ยประกันแต่ละประเภทนั้นต่างกันตามความคุ้มครองที่มากหรือน้อยของแต่ละรูปแบบประกันสำหรับวันนี้รูปแบบประกันที่เราอยากจะแนะนำให้คุณได้เลือกซื้อคือประกันชั้น 2 สำหรับใครที่ยังลังเลอยู่ว่าจะเลือกซื้อรูปแบบประกันรถยนต์ประเภทไหนดีลองเข้ามาทำความรู้จักกับประกันชั้น 2 ที่เราแนะนำต่อไปนี้มั่นใจได้เลยว่ามันจะเป็นอีกหนึ่งตัวเลือกดีๆที่จะทำให้คุณได้รับความคุ้มครองที่ดีที่สุดในราคาเบี้ยประกันที่ถูกที่สุดเมื่อเข้ามาซื้อกับเว็บไซต์ออนไลน์ เพราะเรามีบริการเปรียบเทียบราคาเบี้ยประกันชั้น 2 ที่เว็บไซต์ออนไลน์ ซึ่งจะช่วยทำให้คุณประหยัดเงินในการเลือกซื้อความคุ้มครองได้มากทีเดียว เอาเป็นว่าถ้าใครสนใจต้องการรายละเอียดเพิ่มเติมสำหรับการเลือกซื้อประกันชั้น 2 เหล่านี้ตามเราเข้ามาทำความรู้จักและเลือกซื้อรูปแบบประกันรถยนต์กันได้เลย ความคุ้มครอง จาก ประกันชั้น 2 ในส่วนของช่องทางการเลือกซื้อประกันชั้น 2 ได้นอนว่าคุณสามารถเข้ามาเลือกซื้อที่เว็บไซต์ออนไลน์ได้เรามีหลากหลายรูปแบบประกันให้คุณได้เลือกซื้อไม่ใช่แค่เพียงประกันชั้น 2 ...

บทความนี้เราจะพาคุณมาเจาะลึกถึงความก้าวหน้าใน โรงไฟฟ้าพลังงานทดแทน ในการปรับโฉมโรงไฟฟ้าพลังน้ำแบบดั้งเดิม โดยเปลี่ยนให้เป็นแหล่งพลังงานที่เป็นมิตรต่อสิ่งแวดล้อมและมีประสิทธิภาพมากขึ้น ซึ่งไม่ได้เป็นเพียงการฟื้นฟูเท่านั้น ...

จอมอนิเตอร์ เป็นอุปกรณ์แสดงผลที่ออกแบบมาให้ใช้งานร่วมกับคอมพิวเตอร์ ซึ่งหน้าที่ของมันก็คือการแสดงผลจากประมวลข้อมูลในคอมพิวเตอร์ออกมาเป็นภาพ ตัวอักษร เส้นสายและสีสันต่างๆ บนหน้าจอให้เราทราบและรับรู้ เสมือนว่าเป็นตัวกลางในการสื่อสารระหว่างผู้ใช้งานและคอมพิวเตอร์นั่นเอง โดยปกติแล้ว เมื่อเราซื้อคอมพิวเตอร์ก็มักจะมาพร้อมชุดของคอมที่จะมี CPU จอ แป้นพิมพ์ เมาส์มาด้วยกัน แต่ในปัจจุบันหลายคนนิยมเลือกซื้อแยกชิ้นเพื่อให้การใช้งานนั้นได้ประสิทธิภาพมากยิ่งขึ้น โดยเฉพาะจอมอนิเตอร์ วันนี้เราจึงได้รวบรวมจอมอนิเตอร์ราคาไม่เกิน 5,000 บาทมาฝากกันเลย IPASON MONITOR ...

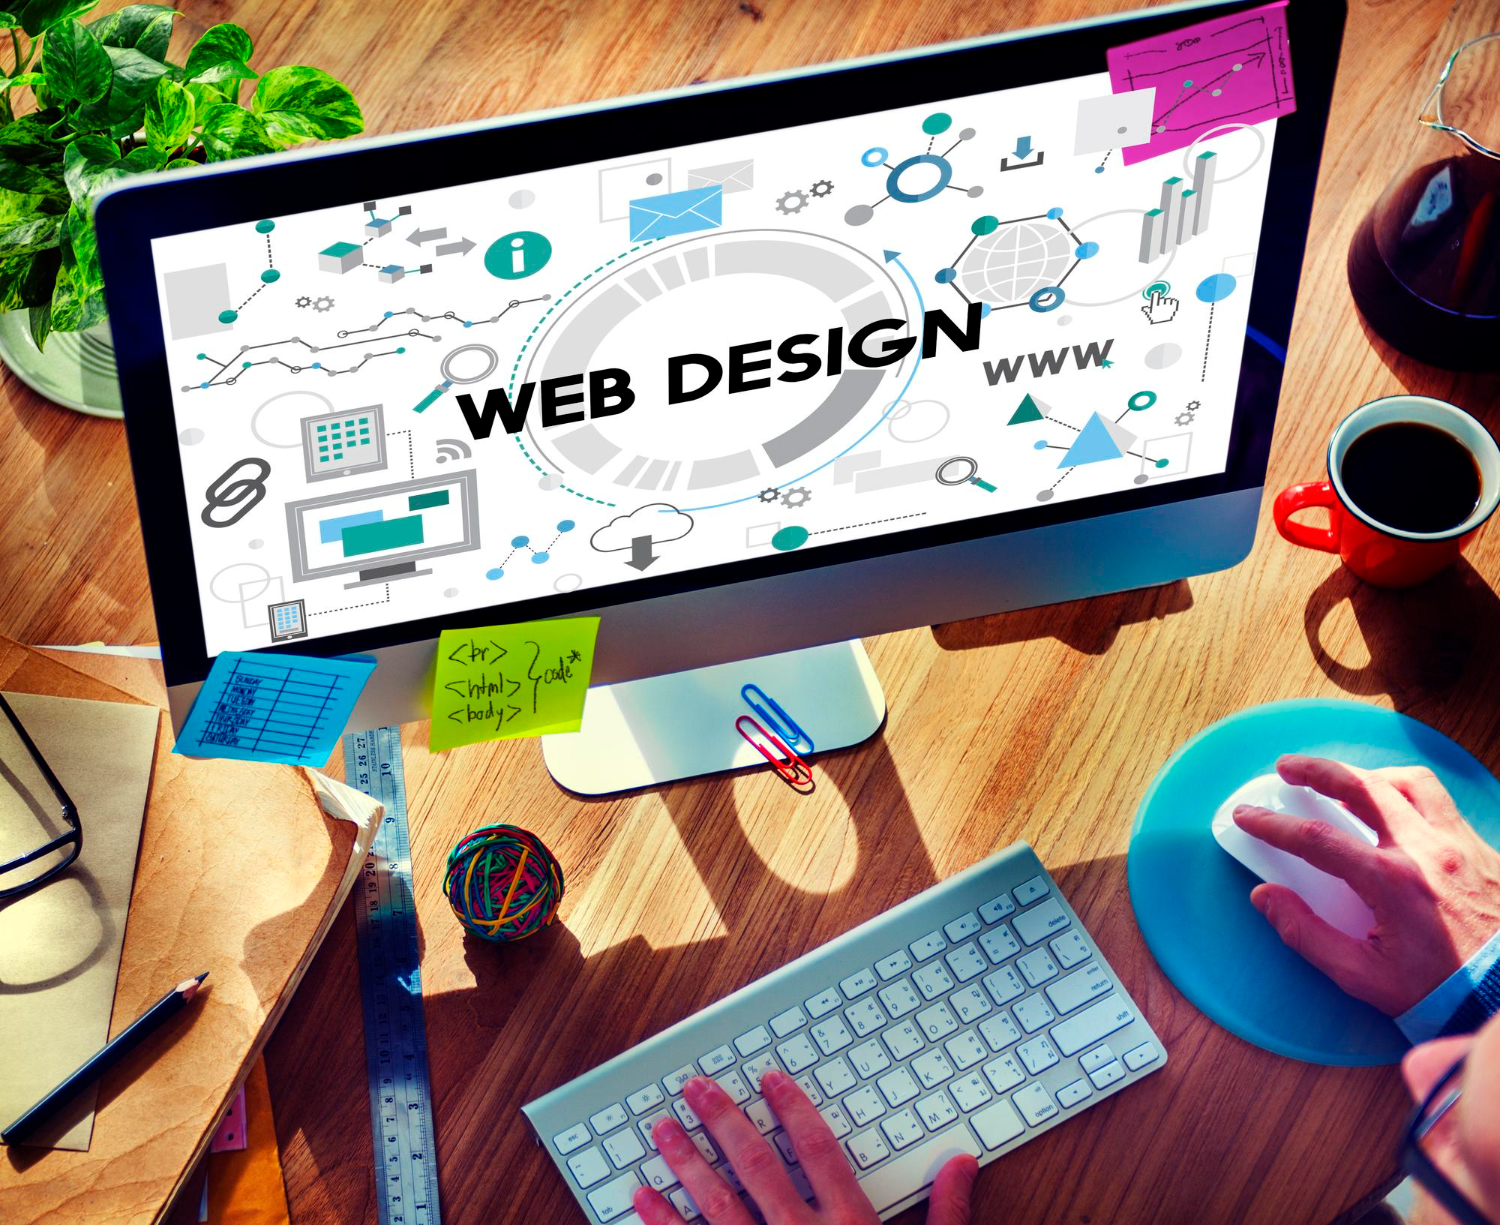
ในยุคดิจิทัลปัจจุบันที่ผู้คนเข้าถึงเว็บไซต์บนอุปกรณ์ที่หลากหลาย การออกแบบเว็บไซต์แบบตอบสนองได้กลายเป็นองค์ประกอบสำคัญของการนำเสนอออนไลน์ที่ประสบความสำเร็จ บทความนี้เจาะลึกแนวคิดของการออกแบบเว็บแบบตอบสนอง ความสำคัญ หลักการสำคัญ และคุณประโยชน์ โดยเน้นว่าการออกแบบนี้จะทำให้ผู้เยี่ยมชมใช้อุปกรณ์ต่างๆ ได้รับประสบการณ์ที่ราบรื่นและเป็นมิตรต่อผู้ใช้ได้อย่างไร การออกแบบเว็บที่ตอบสนองเป็นแนวทางในการพัฒนาเว็บที่มีจุดมุ่งหมายเพื่อให้หน้าเว็บแสดงผลได้ดีบนอุปกรณ์และหน้าต่างหรือขนาดหน้าจอที่หลากหลาย ภาพรวมของแนวคิดที่สำคัญนี้มีดังนี้: ทำความเข้าใจกับการออกแบบเว็บแบบตอบสนอง ความสามารถในการปรับตัว: การออกแบบเว็บที่ตอบสนองเกี่ยวข้องกับการสร้างเว็บไซต์ที่ปรับให้เข้ากับอุปกรณ์ของผู้ใช้ ไม่ว่าจะเป็นคอมพิวเตอร์เดสก์ท็อป แล็ปท็อป แท็บเล็ต หรือสมาร์ทโฟน เว็บไซต์แบบตอบสนองควรมอบประสบการณ์การรับชมที่ดีที่สุด หลักการสำคัญของการออกแบบที่ตอบสนอง กริดแบบไหล: ...
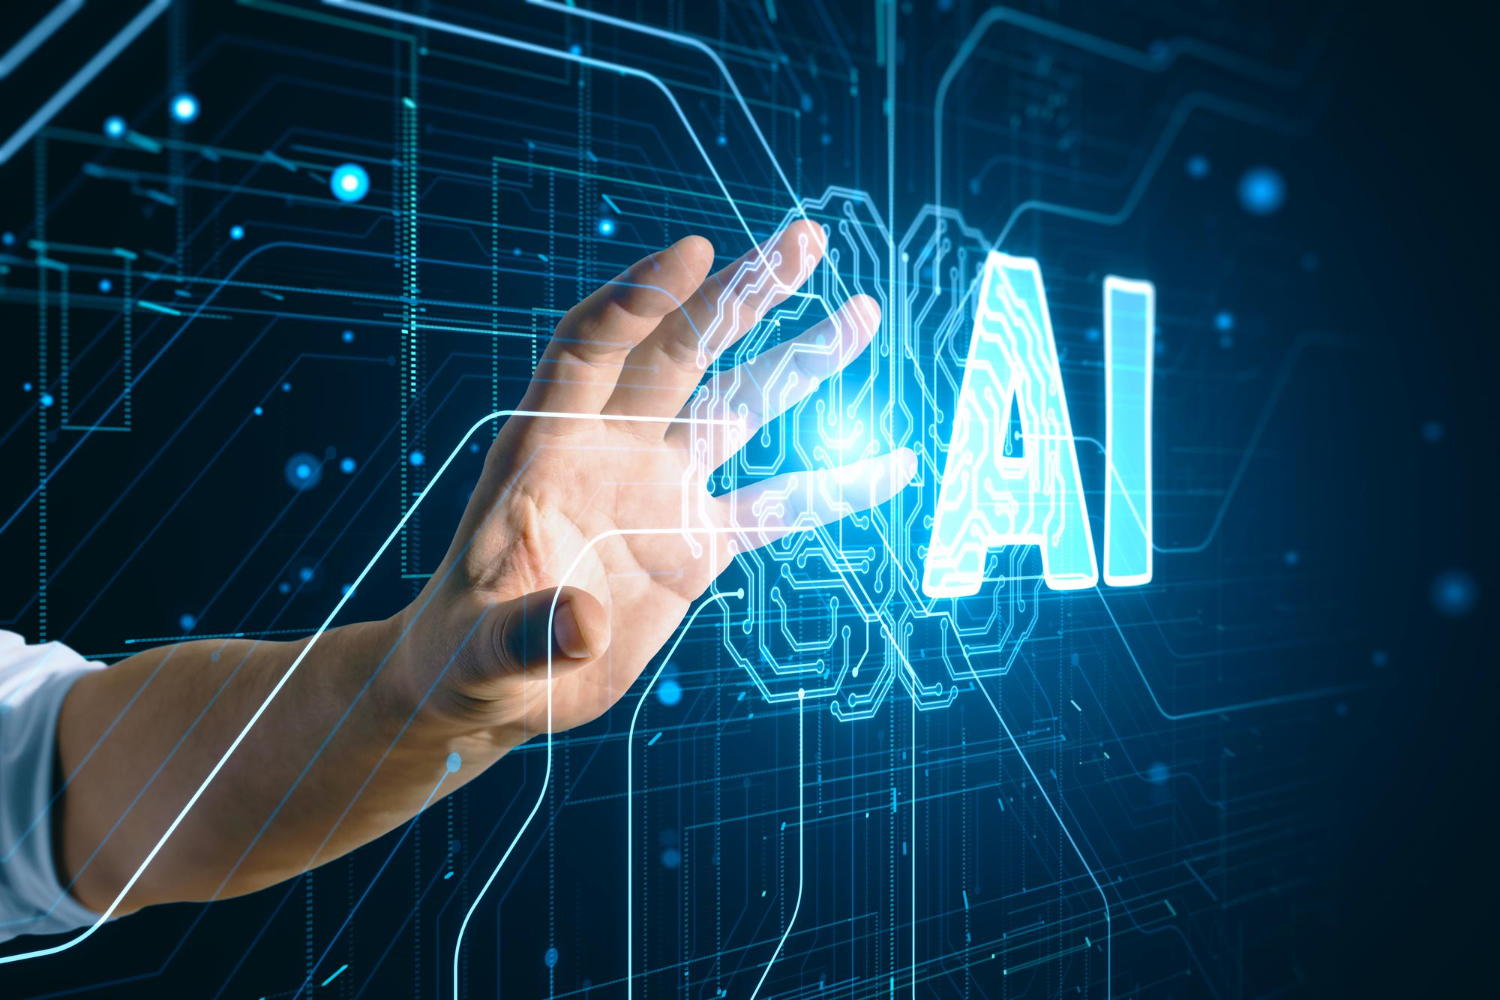
ปัญญาประดิษฐ์ (AI) ได้เปลี่ยนแปลงภูมิทัศน์ของเทคโนโลยีสารสนเทศ (IT) อย่างรวดเร็ว โดยปฏิวัติวิธีดำเนินธุรกิจและผู้คนโต้ตอบกับเทคโนโลยี บทความนี้จะสำรวจการใช้งาน AI ที่หลากหลายในด้านไอที ตั้งแต่การเพิ่มประสิทธิภาพความปลอดภัยทางไซเบอร์ไปจนถึงการทำงานตามปกติโดยอัตโนมัติ และมองไปข้างหน้าถึงการพัฒนาในอนาคตที่สัญญาว่าจะปรับเปลี่ยนรูปแบบอุตสาหกรรม ปัญญาประดิษฐ์กำลังปฏิวัติภาคไอที โดยมีแอปพลิเคชันที่ครอบคลุมโดเมนต่างๆ ตั้งแต่ความปลอดภัยทางไซเบอร์และระบบอัตโนมัติไปจนถึงการวิเคราะห์เชิงคาดการณ์และการประมวลผลภาษาธรรมชาติ AI กำลังขับเคลื่อนนวัตกรรมและประสิทธิภาพ ในขณะที่เทคโนโลยีก้าวหน้าอย่างต่อเนื่อง การพัฒนาในอนาคตของ AI ซึ่งรวมถึงการประมวลผลควอนตัมและอัลกอริธึมการเรียนรู้ของเครื่องที่ได้รับการปรับปรุง ...
อินเทอร์เน็ตกลายเป็นส่วนสำคัญในชีวิตประจำวันของเรา โดยให้การเข้าถึงข้อมูล บริการ และโอกาสต่างๆ อย่างไรก็ตาม ไม่ใช่ทุกคนที่จะสัมผัสประสบการณ์เว็บในลักษณะเดียวกัน ความสามารถในการเข้าถึงเว็บเป็นเรื่องเกี่ยวกับการทำให้เว็บไซต์และแอปพลิเคชันเว็บสามารถใช้งานได้โดยผู้ที่มีความพิการ รวมถึงผู้ที่มีความบกพร่องทางการมองเห็น การได้ยิน การเคลื่อนไหว หรือการรับรู้ ในบทความนี้ เราจะสำรวจความสำคัญของมาตรฐานการเข้าถึงเว็บและวิธีที่มาตรฐานเหล่านี้มีบทบาทสำคัญในการสร้างสภาพแวดล้อมดิจิทัลที่ครอบคลุม ทำความเข้าใจเกี่ยวกับการเข้าถึงเว็บ ความสามารถในการเข้าถึงเว็บหมายถึงการออกแบบและพัฒนาเว็บไซต์และเนื้อหาเว็บที่ทุกคนสามารถใช้งานได้อย่างมีประสิทธิภาพ โดยไม่คำนึงถึงความสามารถหรือความพิการของพวกเขา เหตุใดการเข้าถึงเว็บจึงมีความสำคัญ การไม่แบ่งแยก: ความสามารถในการเข้าถึงเว็บช่วยให้แน่ใจว่าผู้ทุพพลภาพสามารถเข้าถึงและใช้เนื้อหา บริการ ...